Choosing a Pair

1The Decision You Make First
Most people arrive at a pair by accident. They see a headline, or a chart with dramatic candles, or someone mentions a name they recognize. Then they open it and start looking for a trade.
The order is backward, and the reason is worth stating plainly.
Choosing the pair is the first decision of every trade.
It happens before the chart is open, before you have any view on direction, and before you have risked anything. But it sets your cost, decides which hours matter, determines what news you need to follow, and shapes how the position interacts with anything else you hold.
Get it wrong and you spend the rest of the trade working against conditions you chose for yourself.
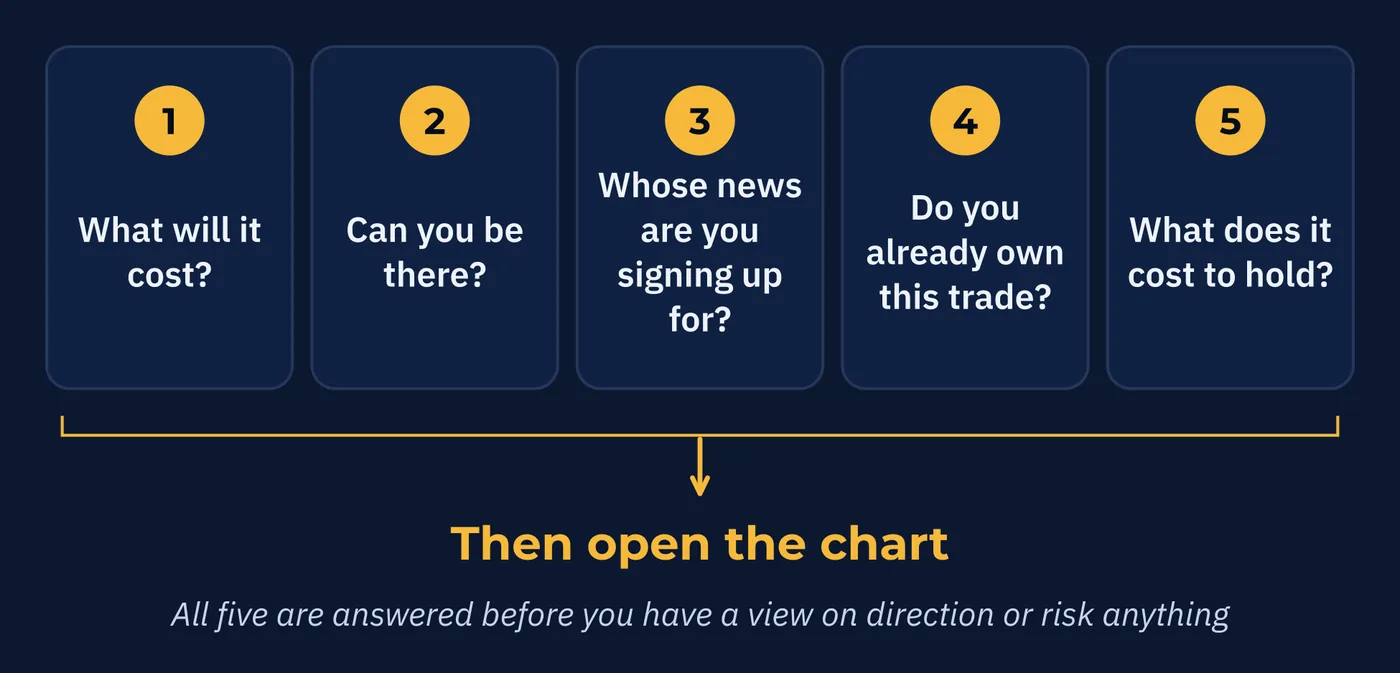
Five questions are worth asking. None takes long.
2What Will It Cost?
Lesson 10 established that the spread is charged the moment you open a position, and that it varies enormously between pairs.
The useful version of that is not the spread on its own. It is the spread measured against the move you are hoping for.
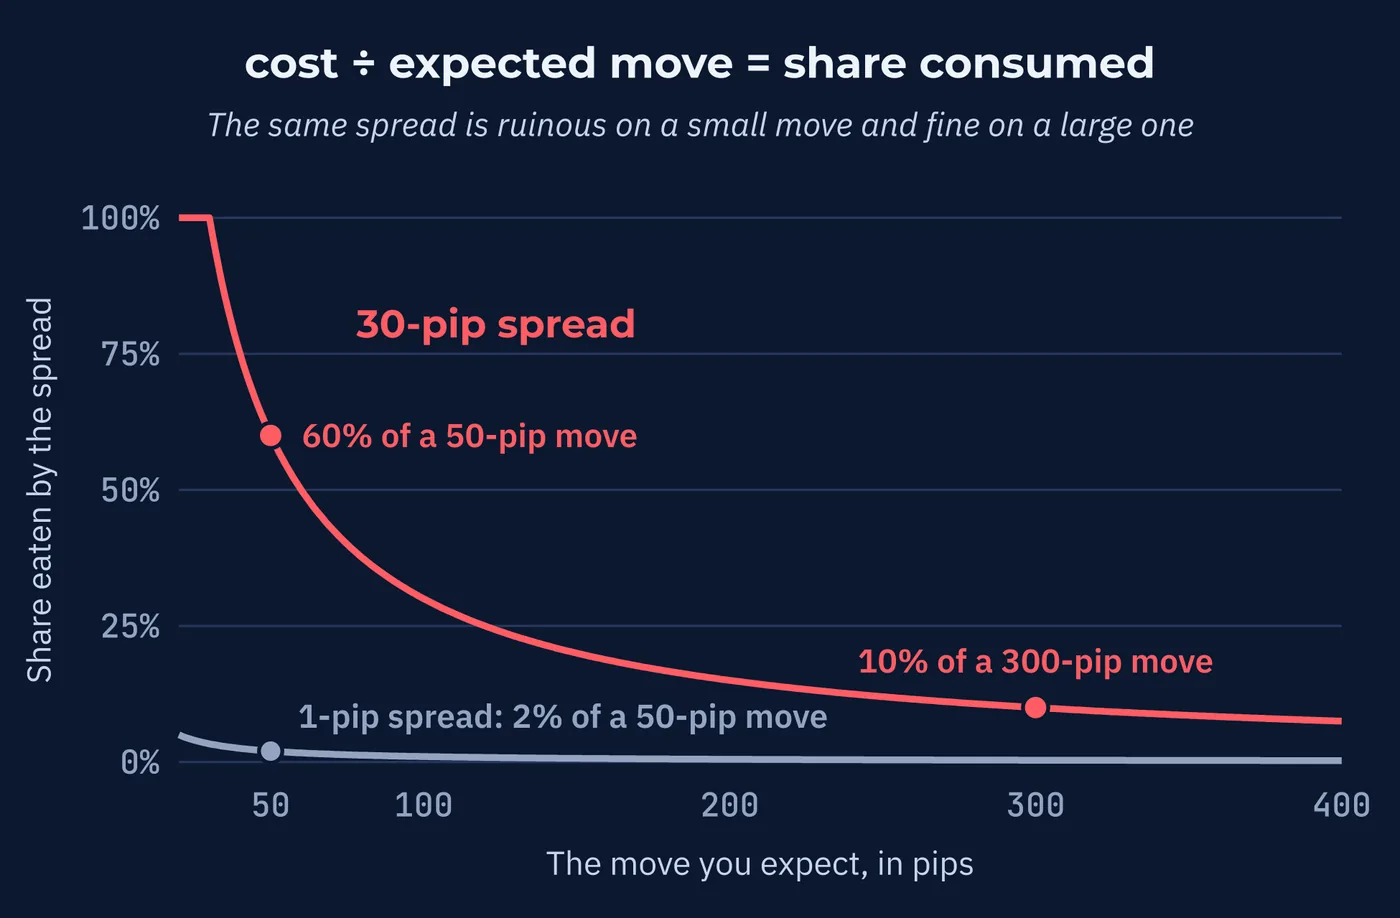
cost ÷ expected move = share consumedA one pip spread on a fifty pip move consumes two percent. A thirty pip spread on the same move consumes sixty percent. Same trade, same accuracy, completely different outcome.
So the question is not whether a pair is expensive. It is whether the cost is small relative to what you are actually reaching for. A wide spread can be fine on a move of several hundred pips, and ruinous on a move of forty.
This one question rules out a great deal on its own. It is the main reason exotic pairs are a poor place to learn, and the reason crosses ask more of you than majors do.
3Can You Actually Be There?
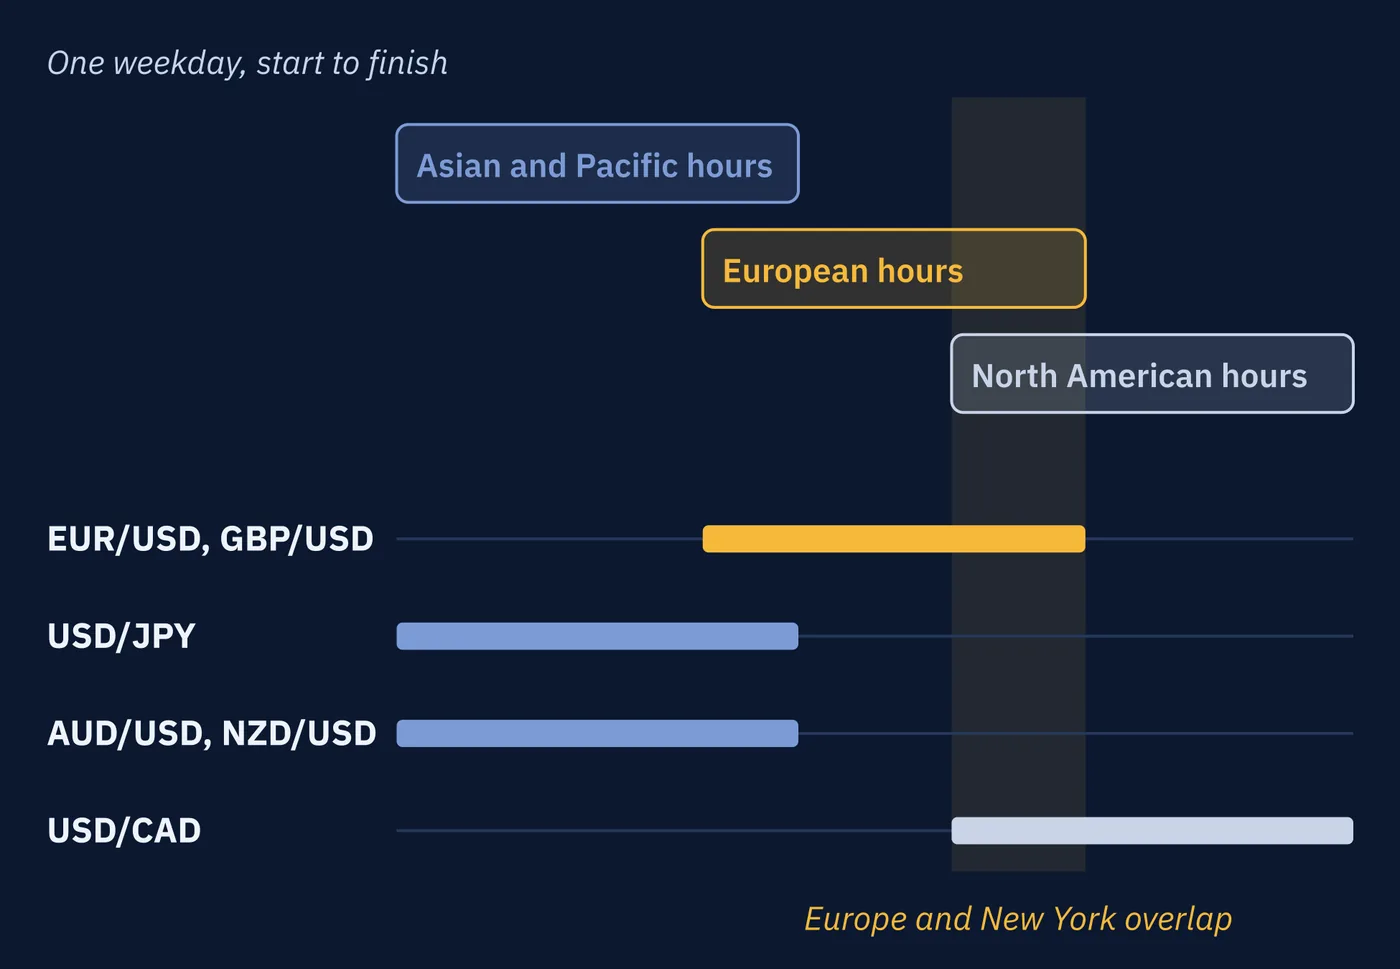
The currency market runs around the clock on weekdays, but it is not equally busy at all hours. Each pair has a stretch of the day when the people who care about it most are awake and trading.
Those hours matter. When a pair's main participants are active, pricing is tighter and price movement reflects genuine interest. Outside those hours, the same pair can be thin, jumpy, and more expensive to trade.
| Pair | Most Active When |
|---|---|
| EUR/USD, GBP/USD | European hours, especially where Europe and New York overlap |
| USD/JPY | Asian hours |
| AUD/USD, NZD/USD | Asian and Pacific hours |
| USD/CAD | North American hours |
Now put that beside your own life. If the only time you can look at a screen is late in your evening, and that falls in the quietest stretch for the pair you chose, you have made things harder for no reason.
The instruction is short: match the pair to the hours you actually have, not the other way around.
4Whose News Are You Signing Up For?
Lesson 8 made the point that every pair carries two central banks, not one, and that each currency has its own drivers.
Choosing a pair is choosing which of those you will follow.
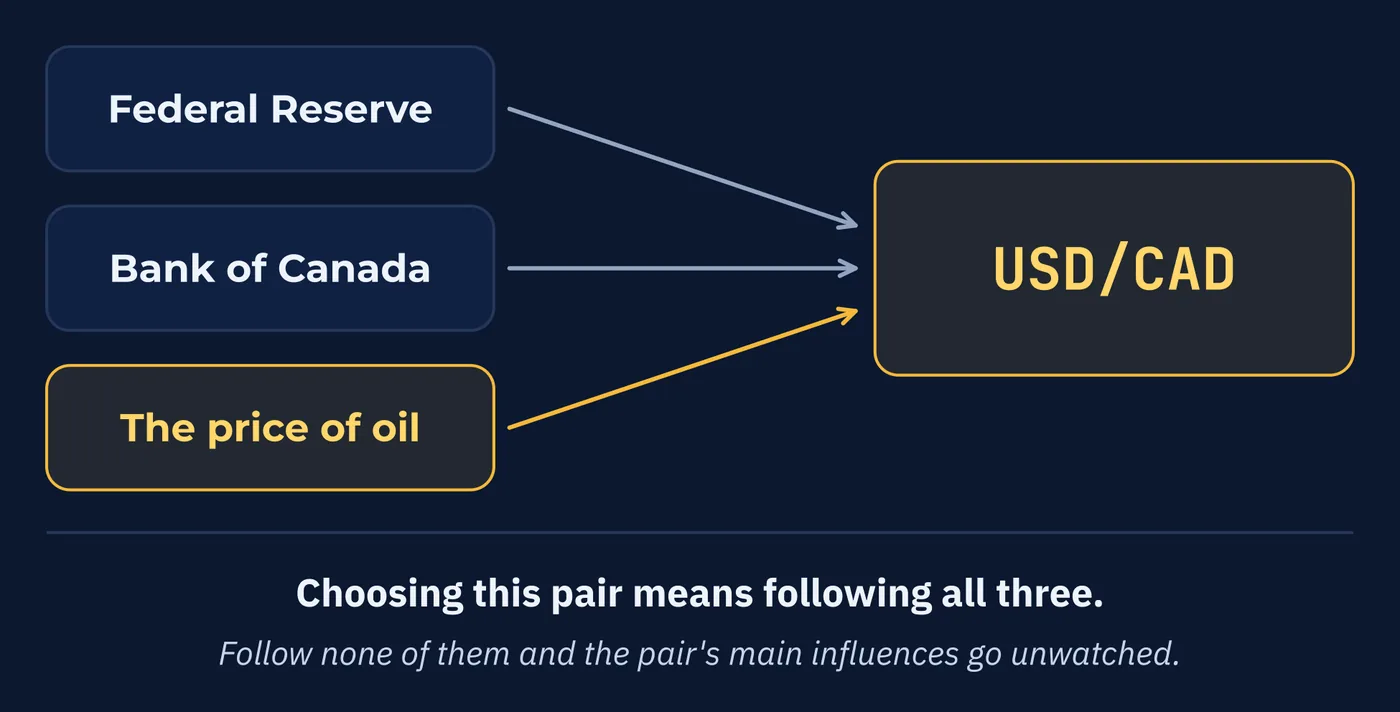
Take USD/CAD. That pair asks you to pay attention to the Federal Reserve, the Bank of Canada, and the price of oil. If you follow none of those, you are trading a pair whose main influences you are not watching. That is a gap in your reasoning, and it exists before you place the trade.
Same for AUD/USD and Chinese economic data. Same for USD/JPY and global risk sentiment. Same for GBP/USD and British politics.
The question is not which pair looks most interesting. It is which fundamental picture you are genuinely willing to keep up with.
For most people the honest answer narrows things considerably, and that is useful rather than discouraging.
5Do You Already Own This Trade?
This one only applies once you hold more than one position, but it is worth knowing before you get there.
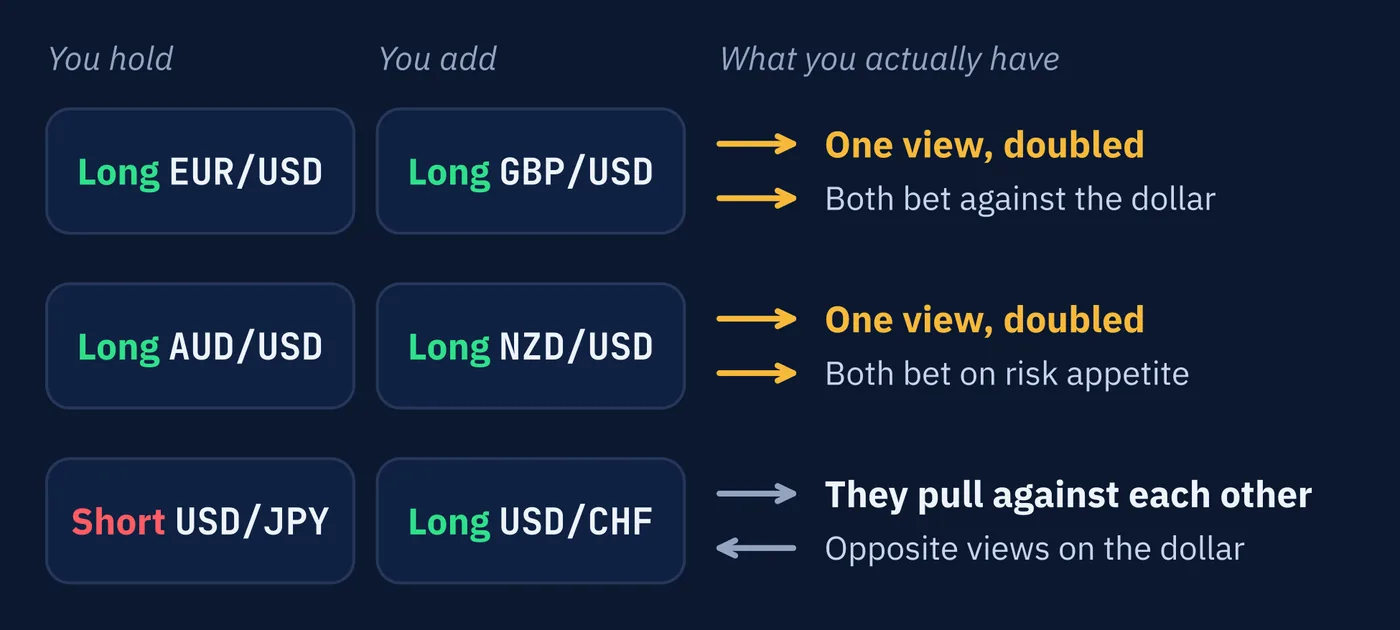
Lesson 7 showed that going long EUR/USD, GBP/USD, and AUD/USD at the same time is not three positions. It is one bet against the dollar, placed in three windows. When the dollar strengthens, all three lose together.
Lesson 9 added the wrinkle. Crosses look like they escape this, since there is no dollar in the ticker. They do not. The dollar reaches a cross through both of its component legs.
So before adding a position, ask what it has in common with what you already hold.
| What You Hold | What You Might Add | What You Actually Have |
|---|---|---|
| Long EUR/USD | Long GBP/USD | One bet against the dollar, doubled |
| Long AUD/USD | Long NZD/USD | One bet on risk appetite, doubled |
| Short USD/JPY | Long USD/CHF | Two positions pointing in opposite directions on the dollar |
Holding several pairs feels like spreading risk around. Sometimes it is. Often it is the same view wearing different labels, and the only way to tell is to ask what the pairs have in common.
6What Does It Cost to Hold?
One more cost exists, and you need to know about it now even though it gets a full treatment later.
Recall from Lesson 4 that every position involves two currencies at once. Because those currencies have different interest rates behind them, holding a position overnight produces a small charge or a small credit, depending on the pair and the direction you are trading.
This is usually called the swap or the overnight financing rate. On a trade held for a few hours it is irrelevant. On a trade held for weeks it accumulates, and on some pairs it accumulates against you every single night.
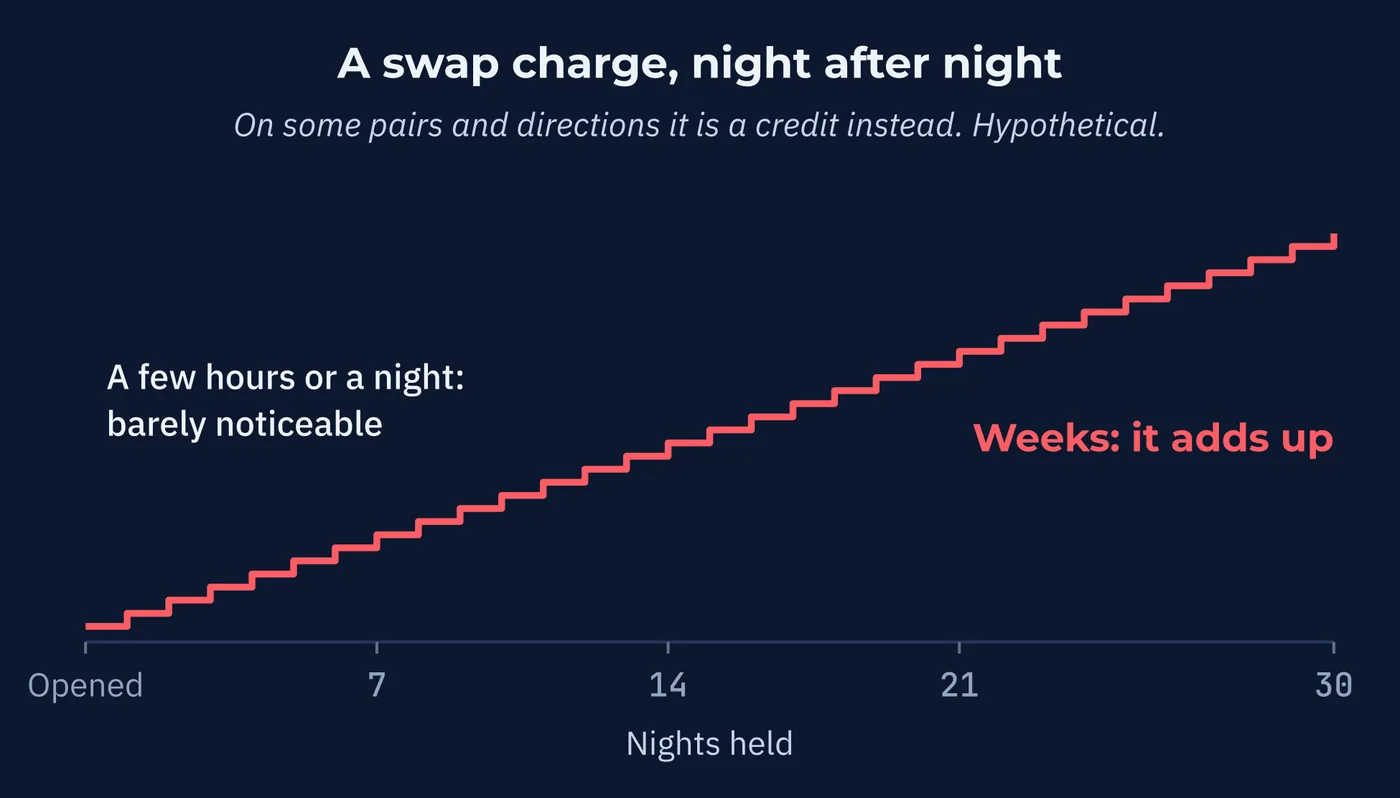
You do not need the mechanics yet. You need to know it exists, that it differs by pair and by direction, and that it is visible on your platform before you trade rather than being a surprise afterward.
If you plan to hold positions for more than a day or two, check it. Future lessons return to this properly alongside the rest of what a trade fully costs.
7Running the Questions
Put the five together and they resolve most pair decisions quickly. Here are two candidates a beginner might realistically be weighing.
EUR/USD, because it is the one everybody mentions. And GBP/JPY, because the chart looks thrilling.
| Question | EUR/USD | GBP/JPY |
|---|---|---|
| What will it cost? | The tightest spread available anywhere | Wider, since cross pricing carries two legs |
| Can you be there? | Busiest across European and New York hours | Spans Asian and European hours |
| Whose news? | Two central banks, both heavily reported | Two central banks, plus British politics and global risk sentiment |
| Already own it? | Straightforward dollar exposure, easy to track | Dollar arrives invisibly through both legs |
| Cost to hold? | Check before holding overnight | Check before holding overnight |
GBP/JPY is not a bad pair. Experienced traders use it deliberately, and its large range is the reason they do.
But run the questions and the difference is stark. It costs more, it demands you follow more, and its moves come from more sources at once. Every one of those is manageable with experience and risky without it.
The exciting chart was the least useful piece of information available, and it was the only one visible before the questions were asked.
8The Honest Recommendation
Here is what most experienced traders should tell a beginner, and it is duller than most people want.
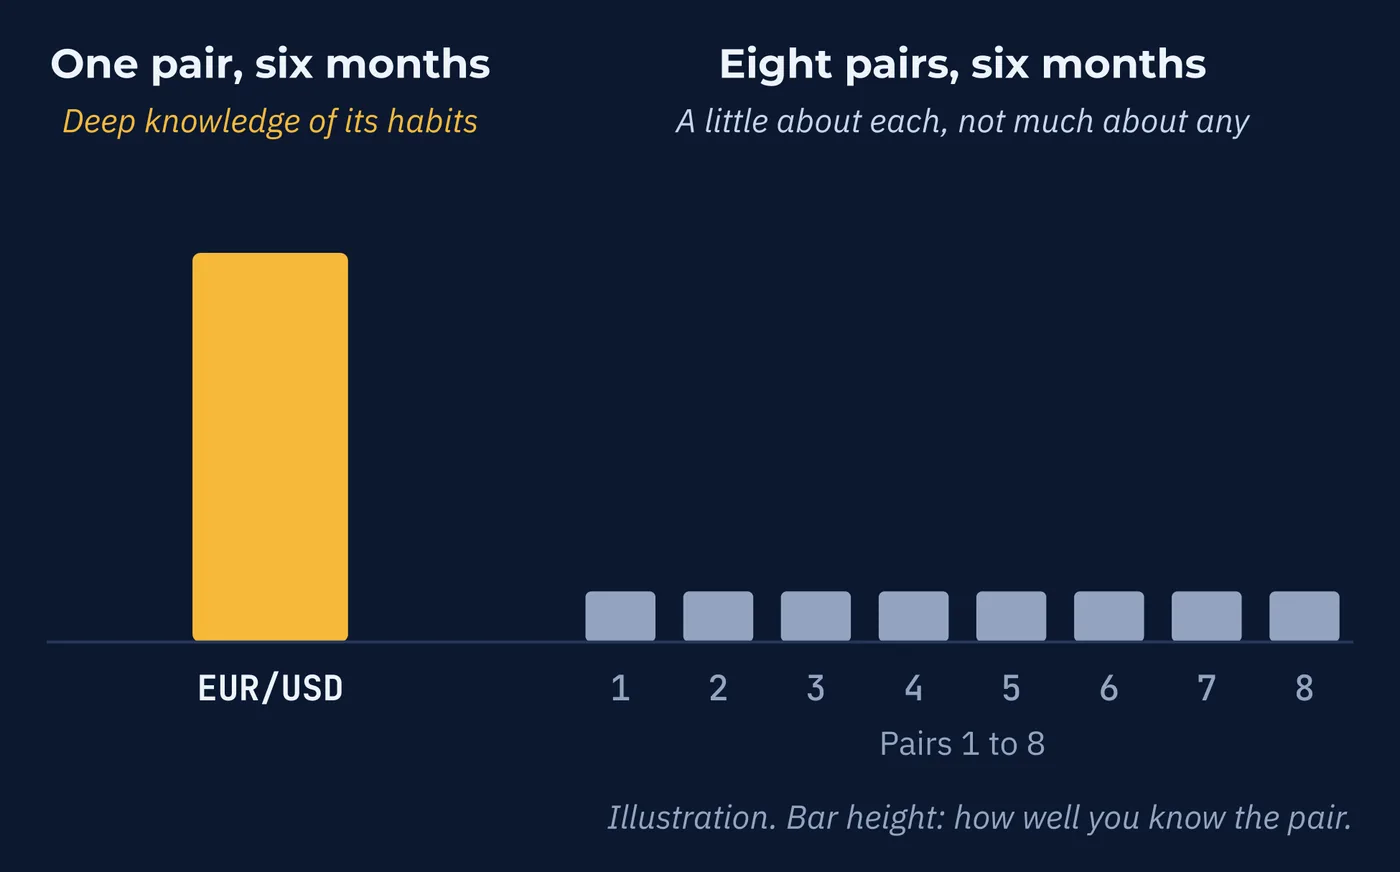
None of which means never trading anything else. It means starting narrow and widening deliberately, rather than starting wide and hoping something works.
That is also the point of this whole series. You now know what is available, how the categories differ, and what each one asks of you. That is enough to make the choice on purpose instead of by accident.
Three Things to Remember
Try This
Fifteen minutes. Run a real decision through the five questions.
Words From This Lesson
| Term | What It Means |
|---|---|
| Trading session | A stretch of the day when a particular region's participants are most active, and when its pairs are busiest. |
| Correlated exposure | Holding several positions that depend on the same underlying force, so they gain and lose together. |
| Swap | A small charge or credit applied for holding a position overnight, arising from the interest rate difference between the two currencies. |
| Expected move | How far you anticipate a price traveling. The figure a pair's cost should be measured against. |
Test Your Knowledge
Eight questions. Answer them all before checking the key on the following pages. If a question gives you trouble, the answer key tells you which section to revisit.
- A. Before the chart is opened
- B. After analyzing the chart
- C. After the first trade goes wrong
- D. It is not a decision, since all pairs are equivalent
- A. As a share of the move you expect
- B. On its own, in pips
- C. By comparing it to yesterday's spread
- D. By whether the broker advertises it as low
- A. About 60%
- B. About 30%
- C. About 7.5%
- D. About 13%
- A. Pairs cannot be traded outside their session
- B. Charts stop updating outside the session
- C. Brokers close certain pairs overnight
- D. Pricing is tighter and movement more meaningful when its participants are active
- A. Two independent positions
- B. A position with no dollar exposure
- C. Two positions that offset each other
- D. One bet against the dollar, doubled
- A. Exchanging one pair for another
- B. The fee for closing a trade early
- C. A charge or credit for holding a position overnight
- D. The difference between the bid and the ask
- A. It cannot be traded by beginners
- B. It costs more, demands you follow more, and its moves come from more sources
- C. Its charts are harder to read
- D. It moves too little to be worth trading
- A. Other pairs are too dangerous to touch
- B. Learning a pair's habits takes repeated observation over time
- C. Brokers charge less if you trade only one pair
- D. It is a rule most platforms enforce
Answer Key
Each answer explains why the correct choice is correct, why the others are not, and where to reread.
Question 1 · correct answer A
The pair sets your cost, your hours, your required news, and your overlap with other positions. All of that is decided before any analysis begins.
B reverses the order, which is how most people actually do it and why the lesson exists. C treats it as a correction rather than a starting decision. D is wrong because the five questions produce genuinely different answers for different pairs.
Review: Section 1, The Decision You Make First
Question 2 · correct answer A
A spread only means something relative to the move you are reaching for. The same cost can be trivial or overwhelming depending on the trade.
B gives you a number with no context, which is why two pairs with identical spreads can suit very different trades. C compares against the wrong thing entirely. D substitutes marketing for arithmetic you can do yourself.
Review: Section 2, What Will It Cost?
Question 3 · correct answer C
30 divided by 400 is 0.075, or about seven and a half percent. On a large enough move, even a wide spread becomes a small share.
A is the answer for a 50 pip move rather than a 400 pip one, which shows how much the expected move matters. B reports the spread in pips rather than as a share. D does not follow from either number.
Review: Section 2, What Will It Cost?
Question 4 · correct answer D
When a pair's main participants are awake, spreads tighten and price movement reflects real interest rather than thin conditions.
A is wrong because every pair is tradeable throughout the week. C describes something brokers do not do for major pairs. B is wrong because charts update continuously regardless of session.
Review: Section 3, Can You Actually Be There?
Question 5 · correct answer D
Both pairs rise when the dollar falls and drop when it rises. Adding the second doubles the same underlying bet rather than diversifying it.
A is how it feels and why the mistake is common. C would require the positions to point in opposite directions on the dollar, which they do not. B is wrong because both pairs contain the dollar directly.
Review: Section 5, Do You Already Own This Trade?
Question 6 · correct answer C
Holding overnight produces a small charge or credit arising from the interest rate difference between the two currencies in the pair.
A describes changing positions, not a cost. B describes an early closure fee that is not standard. D describes the spread, which is charged at entry rather than overnight.
Review: Section 6, What Does It Cost to Hold?
Question 7 · correct answer B
Running the five questions shows it costs more, requires following two central banks plus politics and risk sentiment, and draws its movement from more sources at once.
A is wrong because it is openly available to anyone. C is wrong because candles are read identically on every pair. D reverses the truth, since its daily range is considerably larger than EUR/USD's.
Review: Section 7, Running the Questions
Question 8 · correct answer B
A pair's habits, its usual daily range, and how it behaves around announcements can only be learned by watching the same pair repeatedly over time.
A overstates it, since the objection is about learning efficiently rather than danger. C describes a pricing arrangement that does not exist. D invents a platform rule that no broker applies.
Review: Section 8, The Honest Recommendation
Keep going
Currency Pairs is written by Kanin D. Alldredge for The Currency Classroom, and it is free to read. There is more free from CNS: start here.
Start free with CNS →